
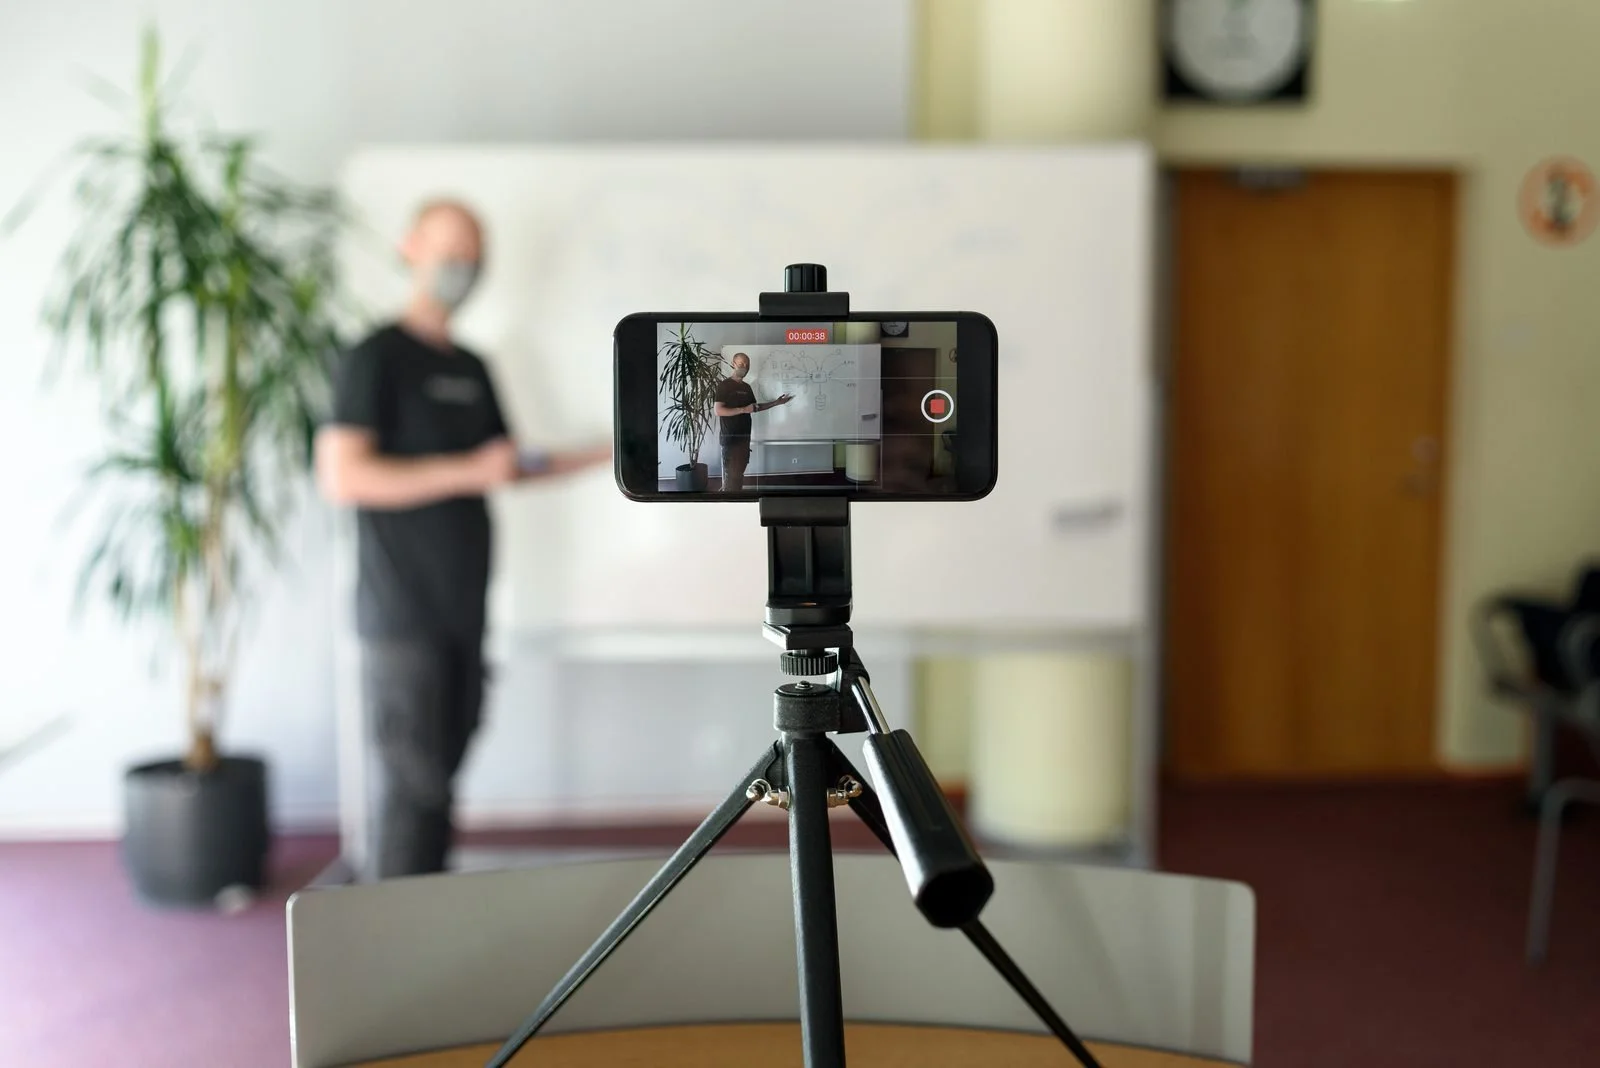
"How come your phone videos look way more crisp than mine?"
I get this question all the time.
My answer? I know a few things you don't know... yet.
Most guides give you a list of settings and stop there. Settings are part of it. The rest of the crisp look comes from lighting and audio, and the best lighting upgrade is free. So below you'll get the settings I use, where each one lives, how much storage they eat, what I change for different kinds of videos, and then the lighting and sound that make the biggest difference.
Watch Bobby's lighting walkthrough on LinkedIn
My iPhone Video Settings
For most people, the best iPhone video settings are 4K at 30 fps, High Efficiency format, HDR Video on, Lock White Balance on, Lock Camera on and the grid turned on, with Enhanced Stabilization on when you're handheld.
Here's the full list, based on Apple's iPhone User Guide for current iOS versions:
Resolution and frame rate: 4K at 30 fps. Use 24 fps for a film look and 60 fps for movement.
Format: High Efficiency. It records HEVC, which Apple says saves space compared with Most Compatible (H.264).
HDR Video: On. Turn it off if your uploads look washed out.
Auto FPS (Auto Low Light FPS on some models): Off. Otherwise the phone can drop to 24 fps in dim light.
Enhanced Stabilization: On for handheld, off on a tripod. It zooms in slightly to smooth things out.
Lock Camera: On. Stops the phone from switching lenses mid-shot.
Lock White Balance: On. Keeps your colors from shifting mid-shot.
Grid and Level: On. Helps you frame and keep shots straight.
Apple ProRes and Log: Off, unless you edit and color grade.
My latest phone videos were shot on an iPhone 17 Pro using the iPhone's own audio, with an AI app for the jump cuts and subtitles. No fancy camera required.
How to Set It Up in Two Minutes
Your iPhone video settings live in two menus plus the Camera app itself. Do this once and you're set.
Open Settings > Camera > Record Video: Pick 4K at 30 fps. Turn on Enhanced Stabilization, Lock Camera and Lock White Balance. Turn off Auto FPS. Leave HDR Video on.
Go back to Settings > Camera > Formats: Choose High Efficiency. Leave Apple ProRes and ProRes Log off (they only show up on Pro models).
Back in Settings > Camera, turn on Grid and Level: These are your framing guides.
Check Settings > Camera > Preserve Settings: Turn on Camera Mode so the app opens in Video if that's where you left it, instead of resetting to Photo.
Open the Camera app and swipe to Video: Tap the resolution and frame rate at the top of the screen to switch on the fly. No trip to Settings needed for quick changes.
24, 30 or 60 fps? The Advice Out There Conflicts
You'll see one site tell you 24 fps is the default and another say 30. Both can be right. It depends on what you're making.
24 fps gives you the motion blur people associate with movies. Great for brand films and moody B-roll.
30 fps is the sweet spot for talking videos, LinkedIn, Reels, TikTok and other short-form content. Motion looks natural, and it's what most phone footage and screen recordings already run at.
60 fps keeps fast action sharp, and you can slow it to half speed in your editor.
120 fps in Video mode is available on iPhone 16 Pro and later Pro models. It's for real slow motion.
One catch with 24 fps. The look depends on shutter speed, and the built-in Camera app picks the shutter for you. In bright sun it goes very fast, and motion can look choppy instead of soft. Filmmakers fix that with an ND filter (sunglasses for your lens) or a manual app like the free Blackmagic Camera app. For a talking-head tip, it's not worth the fuss. Shoot 30.
Whatever you pick, use one frame rate per project. YouTube's upload guidance says content should be uploaded at the same frame rate it was recorded.
Why I Shoot in 4K Even for Social Media
Most social platforms don't show 4K anyway, so why bother?
Because 4K gives you room to work. If you film in 4K and know a little editing, you can punch in on the shot and create several angles out of one. A one-camera talking-head video suddenly looks like it was shot with two or three cameras.
Try it: record a 60-second tip in 4K framed from the waist up. In the edit, cut between that wide shot and a tight crop on your face every few lines. It feels like two cameras, and the cuts hide your jump cuts.
How Much Storage Does iPhone Video Use?
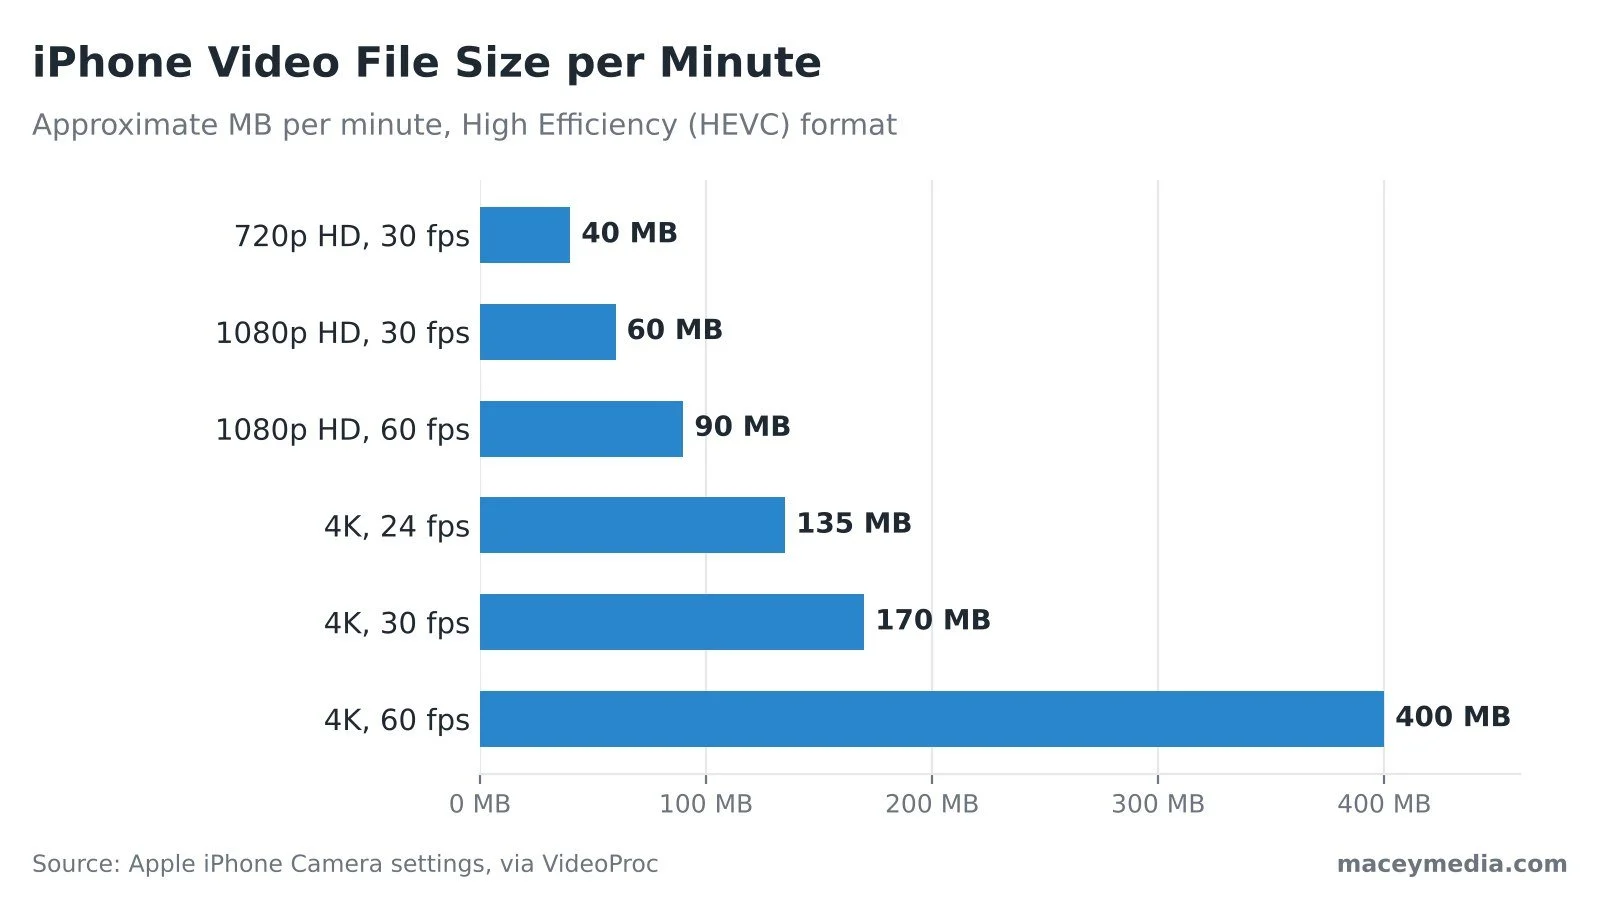
Apple shows a per-minute estimate right on the Record Video screen. VideoProc lists the same figures for High Efficiency (HEVC) video:
720p HD at 30 fps: about 40 MB per minute
1080p HD at 30 fps: about 60 MB
1080p HD at 60 fps: about 90 MB
4K at 24 fps: about 135 MB
4K at 30 fps: about 170 MB
4K at 60 fps: about 400 MB
Most Compatible roughly doubles those numbers (about 350 MB a minute at 4K 30 fps). ProRes is in another league. Apple says ProRes files are up to 30 times larger than HEVC files, and you need at least 10% of your storage free to record in ProRes.
Quick math: a 10-minute 4K 30 fps interview is about 1.7 GB, and about 4 GB at 4K 60 fps. Offload after every shoot.
Should HDR Video Be On or Off?
HDR (high dynamic range) keeps more detail in bright windows and dark corners of the same shot.
According to Apple, your iPhone shares HDR video with newer Apple devices and sends an SDR version to others. Some uploads still come out too bright or washed out, and HDR clips can look off next to regular clips in some editors. My rule: leave HDR on, and turn it off for a project only if your clips keep looking blown out or you're mixing them with footage from another camera.
The Settings Most Guides Skip
Auto FPS: Apple says the phone can drop to 24 fps in low light to brighten the picture. That's handy for casual clips, but it can mismatch your other footage. I turn it off and add light.
Lock White Balance: Without it, colors can shift from warm to cool as you move or as clouds pass. Turn it on and your skin tones stay consistent across the clip.
Lock Camera: Off by default. Turn it on so the phone doesn't swap lenses on you when you move closer or the light changes. That swap is the little jump you sometimes see mid-clip.
AE/AF Lock: Not a menu setting, but use it every time. Touch and hold your subject on screen until you see AE/AF Lock, then drag up or down to set brightness. Focus stops hunting.
Action mode: Big stabilization for walking and running shots. It maxes out at 2.8K and works best in bright light. Turn on Action Mode Lower Light for dimmer scenes.
Grid and Level: The grid and level help you keep horizons straight and eyes on the top third line.
Want the background blurred behind you? Use Cinematic mode. It records at 1080p 30 fps by default, and you can switch to 4K in the Camera settings. Check the blur around hair and glasses before you post.
Do You Need Apple ProRes or Log?
Probably not. ProRes gives you higher color quality and less compression, which matters when a colorist is grading your footage. Log records a flat, gray-looking image that holds more highlight and shadow detail for grading.
Use them only if all three are true:
You edit on a computer with a real editor.
You know how to color grade (or work with someone who does).
You have the storage. Per Apple, ProRes records up to 4K 30 fps to the phone itself, and the higher frame rates need a compatible external drive on recent Pro models.
For social posts and website videos, HEVC with HDR looks great.
Best iPhone Video Settings by Type of Video
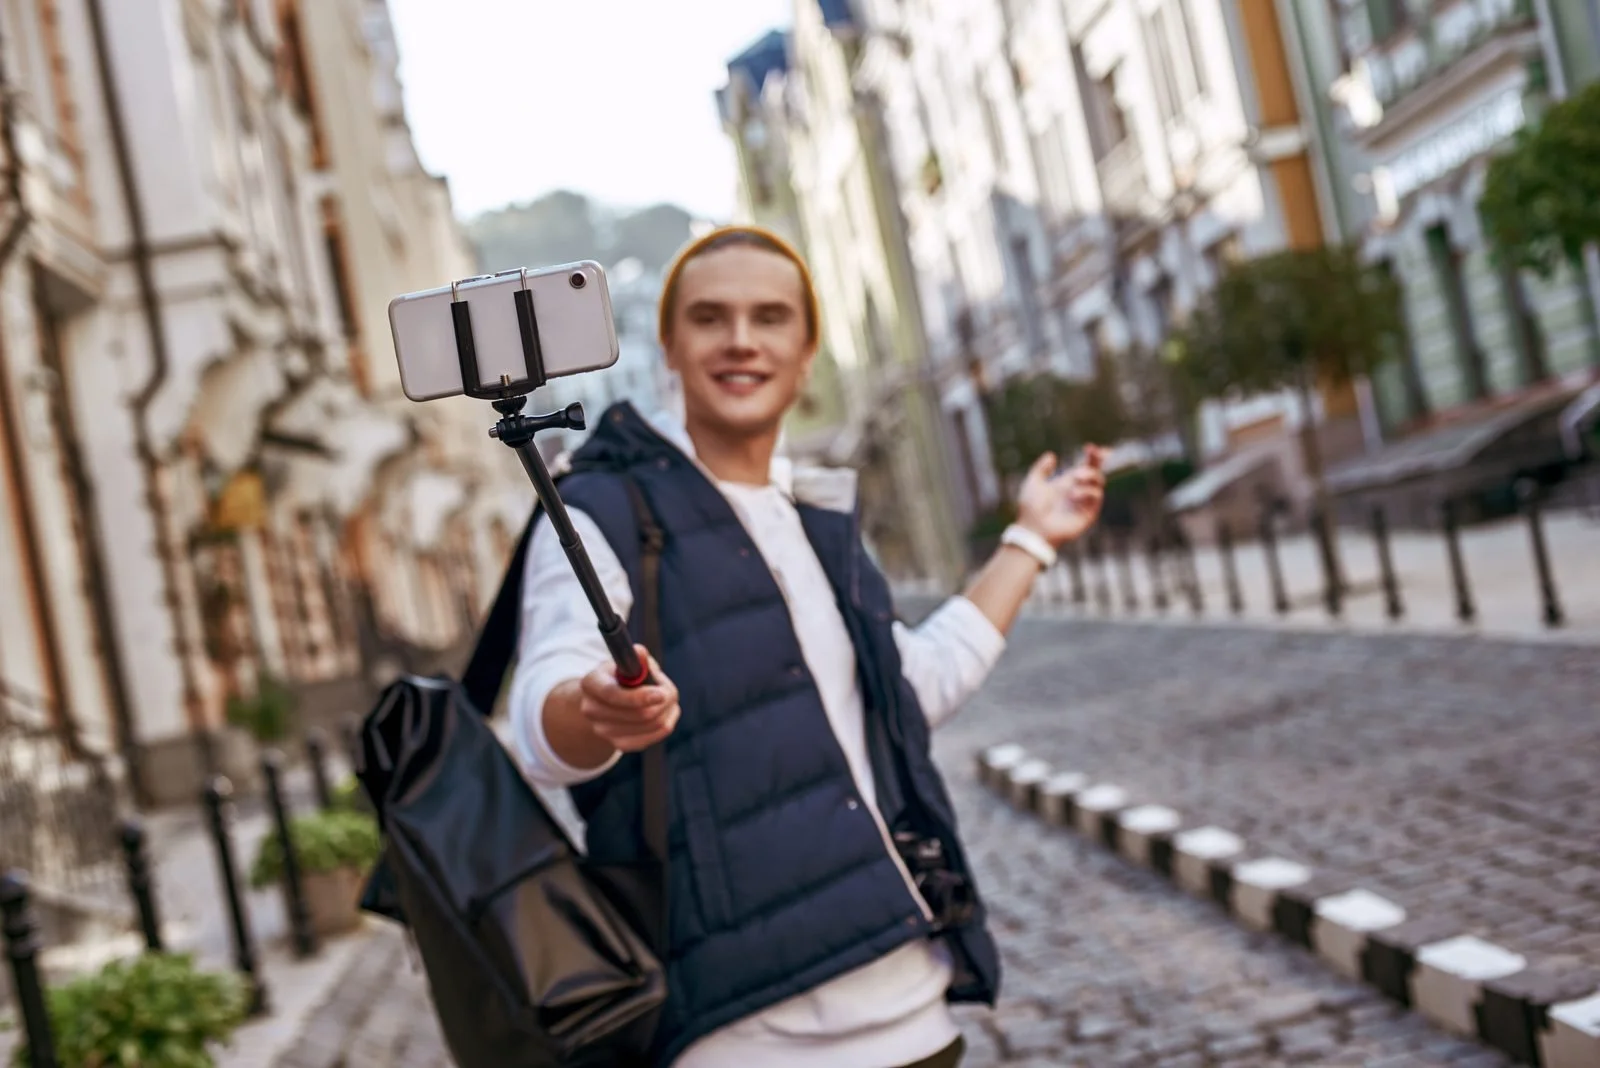
Talking-head tips for LinkedIn or Reels. 4K at 30 fps, HDR on, phone on a tripod at eye level, Enhanced Stabilization off, Lock White Balance on. Face a window. This is the setup behind most of my own posts.
Walk-and-talk videos. Action mode on, with Action Mode Lower Light if you're indoors. Keep the phone close and the light in front of you. You'll lose some resolution, but smooth beats sharp-and-shaky every time.
Product B-roll. 4K at 60 fps, or 120 fps on a newer Pro model, then slow it down in the edit. Lock focus and exposure on the product before you hit record. For bigger launches, our product video production team handles the lighting and motion.
Office or space walkthroughs. 4K at 30 fps, Enhanced Stabilization on, Lock Camera on and slow, steady steps. Hold the phone at chest height and keep doors and walls straight on the grid. For listings that need to sell, look at professional real estate videography with drone shots.
Vertical vs. horizontal. Shoot vertical for Reels, TikTok and Shorts. Shoot horizontal for YouTube and your website. If you need both from one take, shoot 4K horizontal with your subject centered and crop the vertical version later. Already have long videos up? Here's how to clip a YouTube video into vertical shorts.
Lighting Matters More Than Any Setting
This one tip will level up your photography and videography more than almost anything else. And it's free.
The tip is lighting.
In my video, the backdrop is nice, but the window is what makes it look good. The light comes in from behind the camera and lights up my face.
Your iPhone sensor is small. In dim light it adds grain, no matter what settings you pick. Here's how to use the light you already have.
Direct Light: Face the Window
Put the light source behind your phone, pointing at your face. It's the easiest, most flattering setup for selfie-cam videos.
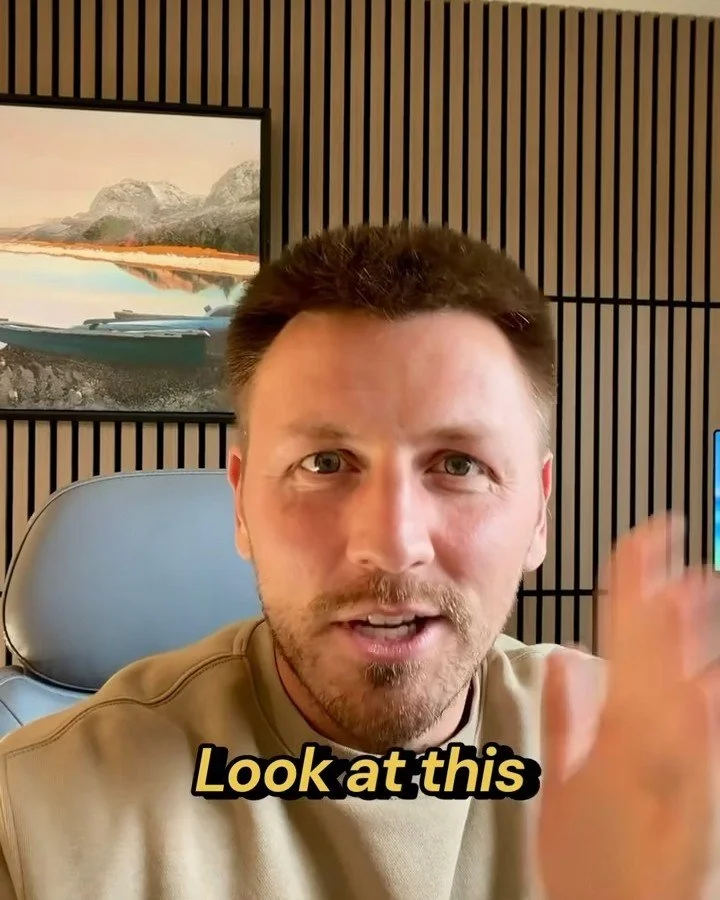
If direct sun is hitting you, hang a sheer curtain or step back from the window.
Rembrandt Lighting: Light From the Side
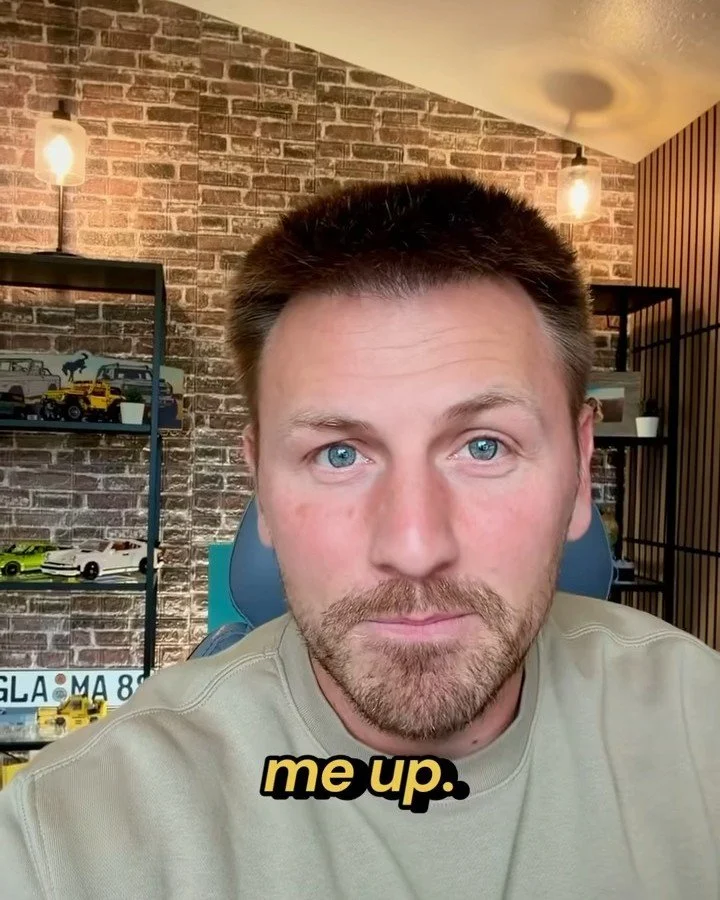
Turn so the light hits one side of your face. The other side falls a little darker. That's Rembrandt lighting.
It adds depth and a bit of drama, which works well for moodier talking videos, founder stories or anything serious.
The trick is to angle yourself about 45 degrees from the window, not fully sideways. Fully sideways leaves half your face in the dark.
Avoid This: The Window Behind You
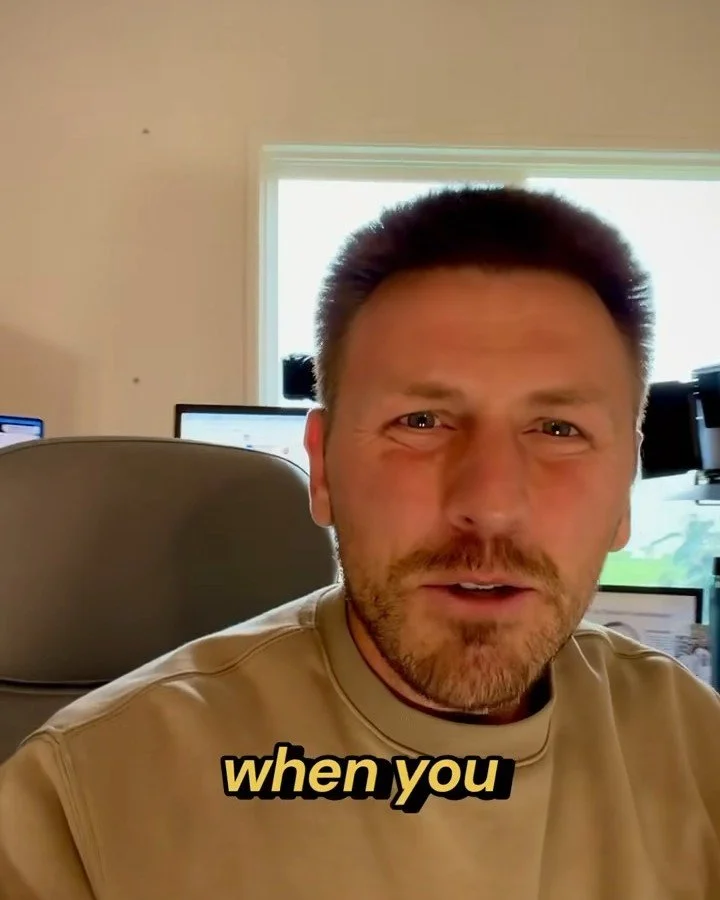
Point your camera toward the light source with nothing lighting your face, and you turn into a silhouette. That's not what we want for smartphone videos.
Rule of thumb: the light belongs on your face, not behind your head.
Can't move? Tap your face on screen and drag the exposure up. It's a patch, not a fix.
How to Get Better Audio on iPhone Video
People will forgive average video. They won't forgive bad audio. Researchers at USC and the Australian National University found that when audio was harder to hear, viewers rated the same talk as worse and the speaker as less intelligent and less likeable. Same words, same speaker. Only the sound changed.
Your iPhone mic is fine to start, especially in a quiet room. On iPhone 16 and later, you can pick how it records under Settings > Camera > Record Sound: Spatial Audio, Stereo or Mono. For a talking-head video, Stereo or Mono keeps your voice front and center.
When you're ready for the next step, get a wireless mic.
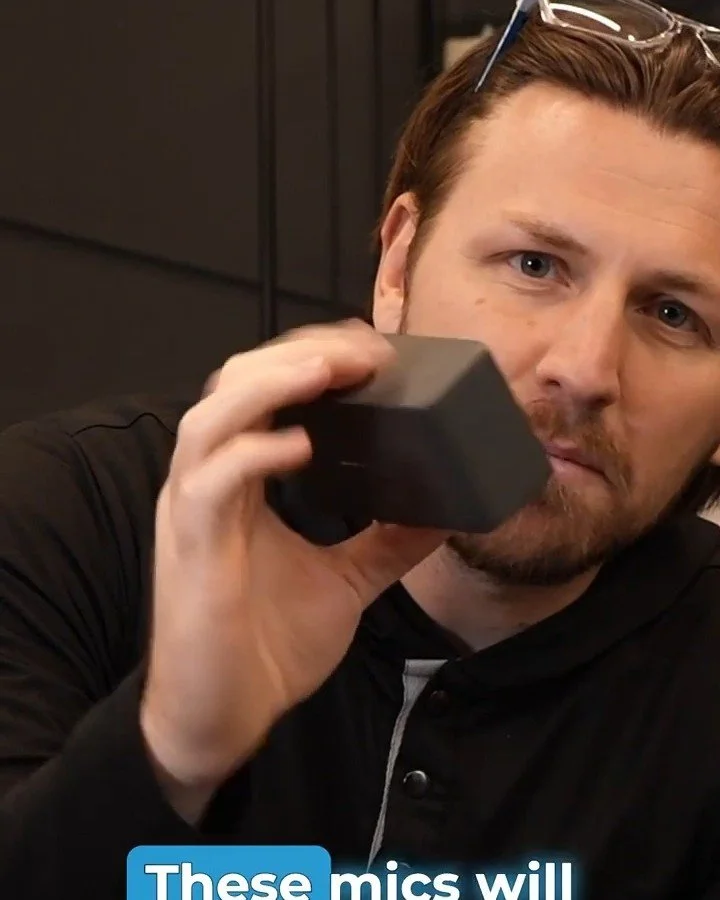
The DJI wireless mics are amazing. A receiver plugs right into your phone, and two small mics connect wirelessly. They clip on with a magnet so you're hands-free, and you can record a podcast-style conversation with a guest from a single angle.
These are professional-grade mics. We use them on shoots that cost several thousand dollars. They run about $350.
Free audio wins: turn off fans and the AC, film in a room with a rug or couch, and keep the phone within arm's length.
Build a Phone Video Studio for Under $500
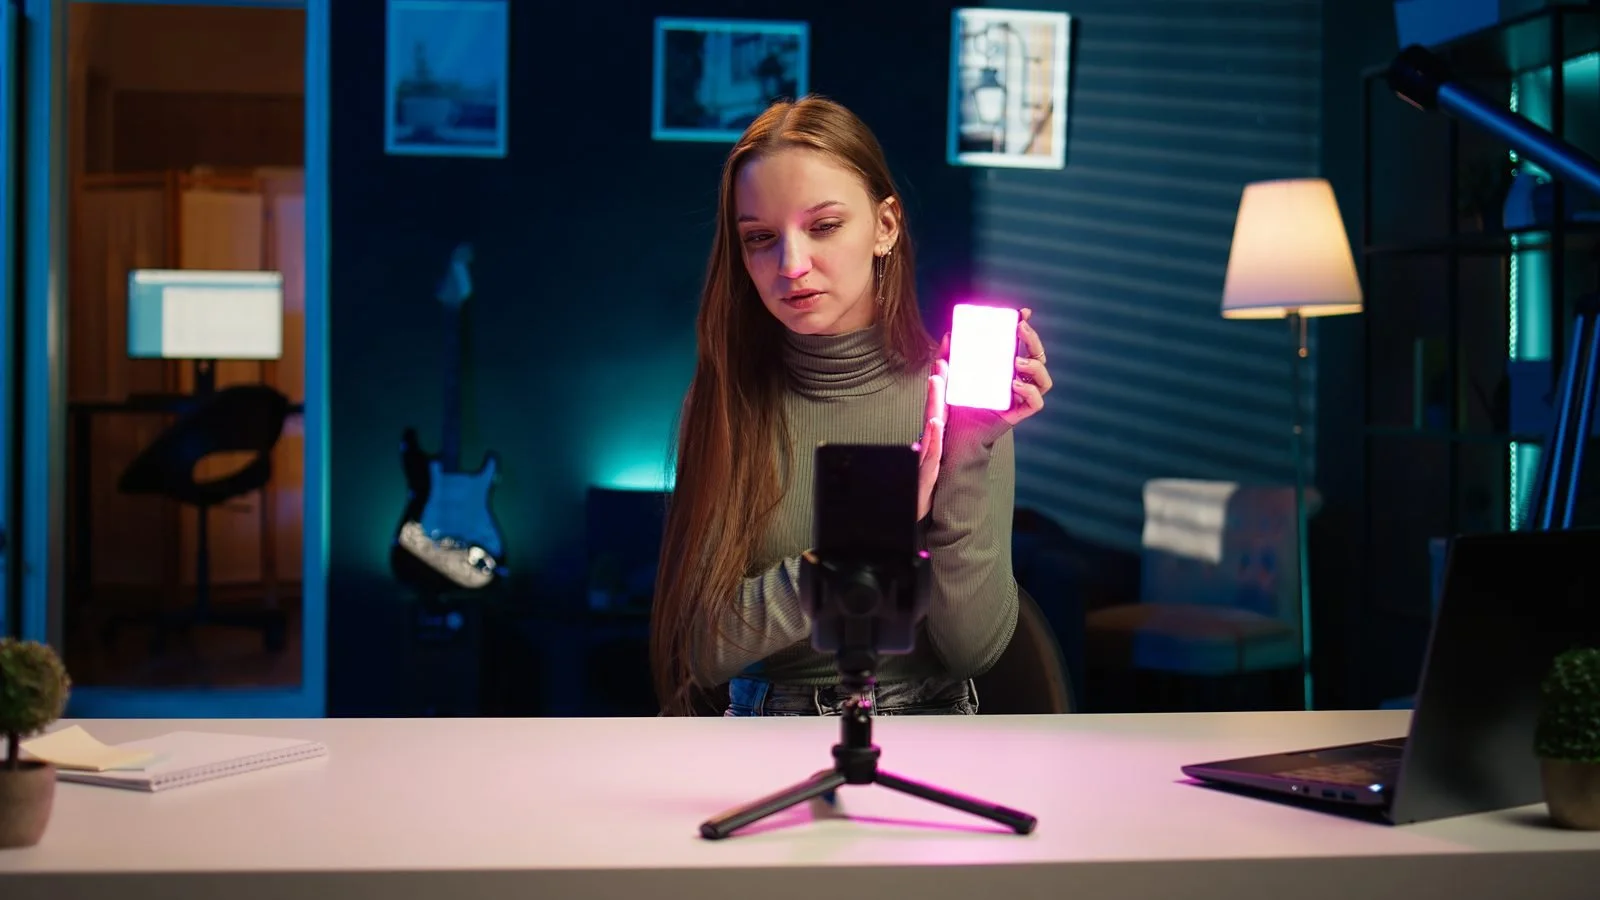
When the window isn't enough, add one light. Neewer has a ton of affordable lights under $100, and a single light fills in the shadows on your face.
Here's the whole kit:
Your iPhone: The one you already have.
A wireless mic: about $350.
One LED light: under $100.
A basic tripod with a phone mount:
That's a professional-looking phone setup for under $500. Set the light to one side and a little above eye level for Rembrandt lighting any time of day.
Before You Hit Record
Run through this every time. It takes a minute and saves the take.
Wipe the lens: A smudge is one of the most common causes of soft, hazy video.
Check storage: About 170 MB per minute at 4K 30 fps.
Use the rear camera if you can: It's higher quality than the front. Use the front camera only when you need to see yourself.
Set resolution and frame rate at the top of the Camera screen.
Face the light:
Connect and test your mic:
Put the phone on a tripod at eye level: Low, shaky angles read as amateur.
Lock focus and exposure on your face:
Record a 5-second test and play it back with sound.
Then edit fast. Start with a hook, give one tip, let an AI app handle the jump cuts and subtitles (InShot is a solid basic editor for about $10 a year), and post. Hitting record is the second-hardest part. Publishing is the hardest part. Do it anyway.
When a Phone Is Enough, and When It Isn't
This is Macey Media's own overview video. Watch it next to one of your phone clips and look at the light, the lens choices and the sound. That's the gap a full production closes. If you're hiring that out, start with these questions to ask a videographer.
A phone is perfect for quick tips, behind-the-scenes clips and weekly social posts. Plenty of companies make these themselves, and they should. For your homepage video, a brand story or anything you'll run as an ad for a year, a full crew usually pays off. Our breakdown of in-house vs. agency video lays out the tradeoffs.
Once you're posting regularly, turn those clips into a plan. Our guide to video marketing for small business is the next step.
Film once and use it everywhere. One 4K talking-head take can become a YouTube video, three Reels and a quote graphic with a little content repurposing.
Quick Answers to Common iPhone Video Questions
What is the best frame rate for iPhone video?
30 fps works best for most talking videos and social posts. Use 24 fps for a film look and 60 fps for fast movement or smooth slow motion. Whatever you pick, edit and upload at that same frame rate.
Should I record iPhone video in 4K or 1080p?
4K if you have the storage. You get a sharper image and room to crop or punch in while editing. 1080p at 30 fps uses about a third of the space, so it's a fine pick for quick clips you won't edit.
Should HDR video be on or off on iPhone?
On for most people. HDR keeps more detail in bright windows and dark corners. If your videos look too bright or washed out after you upload them, turn off HDR Video in Settings > Camera > Record Video.
How much storage does 1 minute of 4K iPhone video take?
About 170 MB at 4K 30 fps and about 400 MB at 4K 60 fps in the High Efficiency format. Most Compatible roughly doubles that. ProRes can be up to 30 times larger than standard HEVC video.
Should I turn on Apple ProRes or Log?
Only if you plan to edit and color grade on a computer. ProRes files are huge, and Log footage looks flat and gray until you grade it. For social posts, standard HEVC with HDR is the better choice.
Why do my iPhone videos look blurry or grainy?
Usually it's a dirty lens, not enough light or a shaky hand. Clean the lens, face a window, lock focus and use a tripod or Enhanced Stabilization. Grain almost always means the scene needs more light.
Phone for the Weekly Stuff, Us for the Big Stuff
Keep shooting your quick tips on your phone. When you need a video that carries your brand for years, that's where we come in. Our video projects start at $5,000, and most land between $10,000 and $20,000. A medium project usually takes 4 to 6 weeks.
See our corporate video production work or reach out here. If you're in Utah and want a hand setting up your own simple studio, I do that too. Call me at (385) 831-1130.
